While crystals are powerful on their own, their magic multiplies when combined with other spiritual tools and practices. Like musicians in an orchestra, each spiritual practice brings its unique vibration, and when played together, they create a symphony of healing and manifestation that's greater than the sum of its parts.
This comprehensive guide will show you how to expertly weave crystals into various spiritual practices, from meditation and yoga to tarot and energy healing. Discover how to create powerful synergistic practices that accelerate your spiritual growth and manifestation capabilities.
The Power of Integration: Why Combinations Work
Different spiritual practices work with different aspects of your being:
- Crystals: Work with earth energy and subtle body vibrations
- Meditation: Works with mind and consciousness
- Energy Healing: Works with life force energy (chi/prana)
- Divination: Works with intuition and higher guidance
- Ritual: Works with symbolism and subconscious programming
When combined, they create a holistic approach that addresses all levels of your being simultaneously.
1. Crystals + Meditation: Deepening Your Practice
How They Enhance Each Other
Crystals give the mind a physical anchor during meditation, while meditation helps you better perceive and work with crystal energies.
Powerful Pairings
- Mindfulness + Amethyst: Mental quieting and focus
- Chakra Meditation + Corresponding Stones: Energy balancing
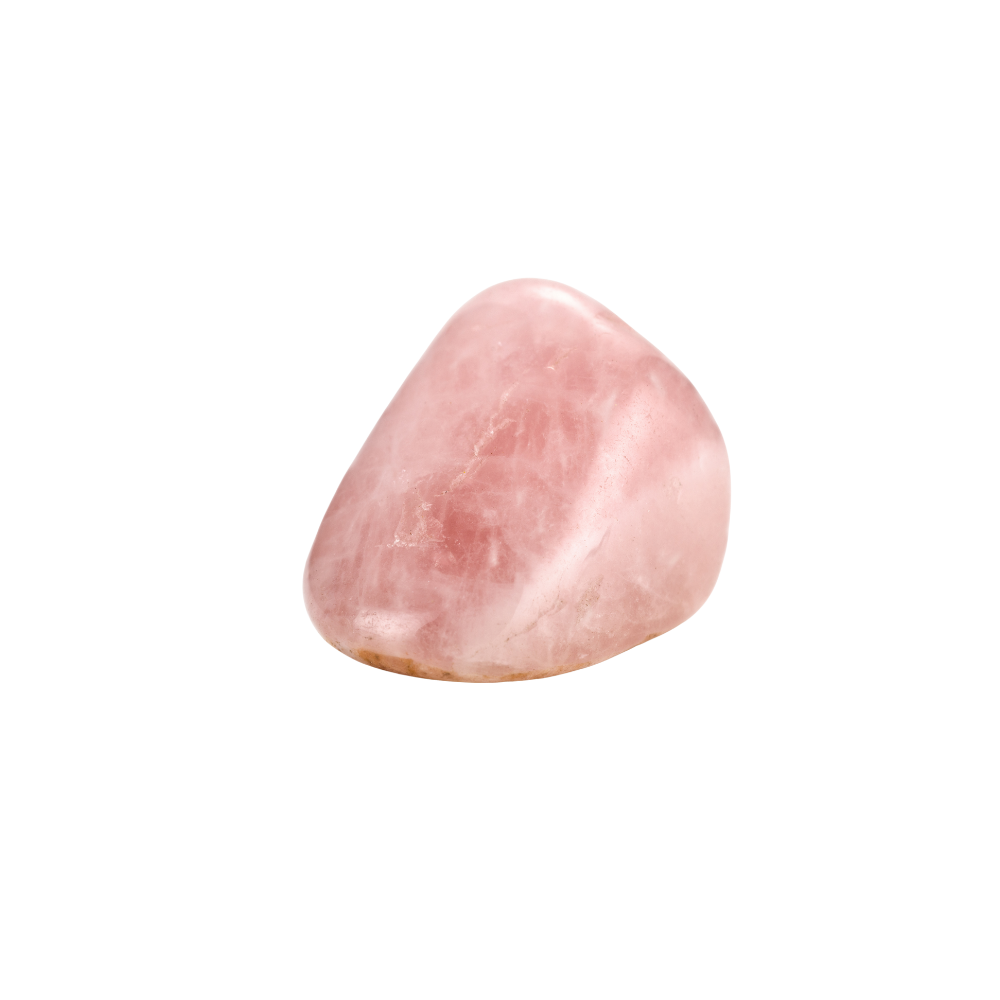
- Loving-Kindness + Rose Quartz: Heart opening
- Visualization + Clear Quartz: Manifestation clarity
Practice: Crystal Meditation Grid
Create a small crystal grid around your meditation space. Place stones corresponding to your intention at the cardinal directions.
2. Crystals + Yoga: Energetic Alignment
How They Enhance Each Other
Yoga moves energy through the body while crystals help ground and direct that energy toward specific intentions.
Powerful Pairings
- Mat Placement + Black Tourmaline: Grounding practice
- Heart Openers + Rose Quartz: Emotional release
- Balance Poses + Hematite: Stability and focus
- Savasana + Amethyst: Deep relaxation
Practice: Crystal Yoga Sequence
Place crystals around your mat corresponding to chakras you're working on. Hold stones during meditation or place them on your body during rest poses.
3. Crystals + Tarot/Oracle Cards: Enhanced Intuition
How They Enhance Each Other
Crystals heighten intuitive reception while cards provide symbolic language. Together, they create clearer spiritual guidance.
Powerful Pairings
- Reading Cloth + Clear Quartz: Clear messages
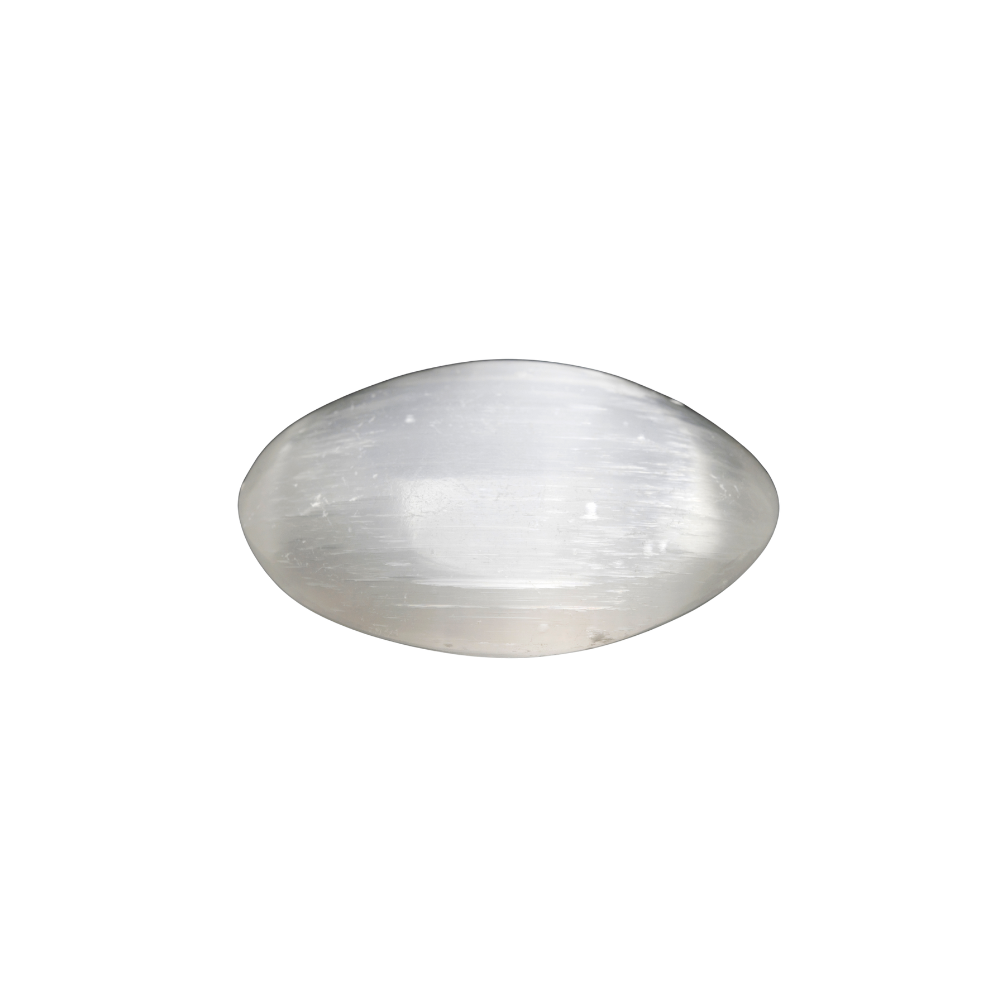
- Card Storage + Selenite: Energetic protection
- Specific Questions + Corresponding Stones: Targeted guidance
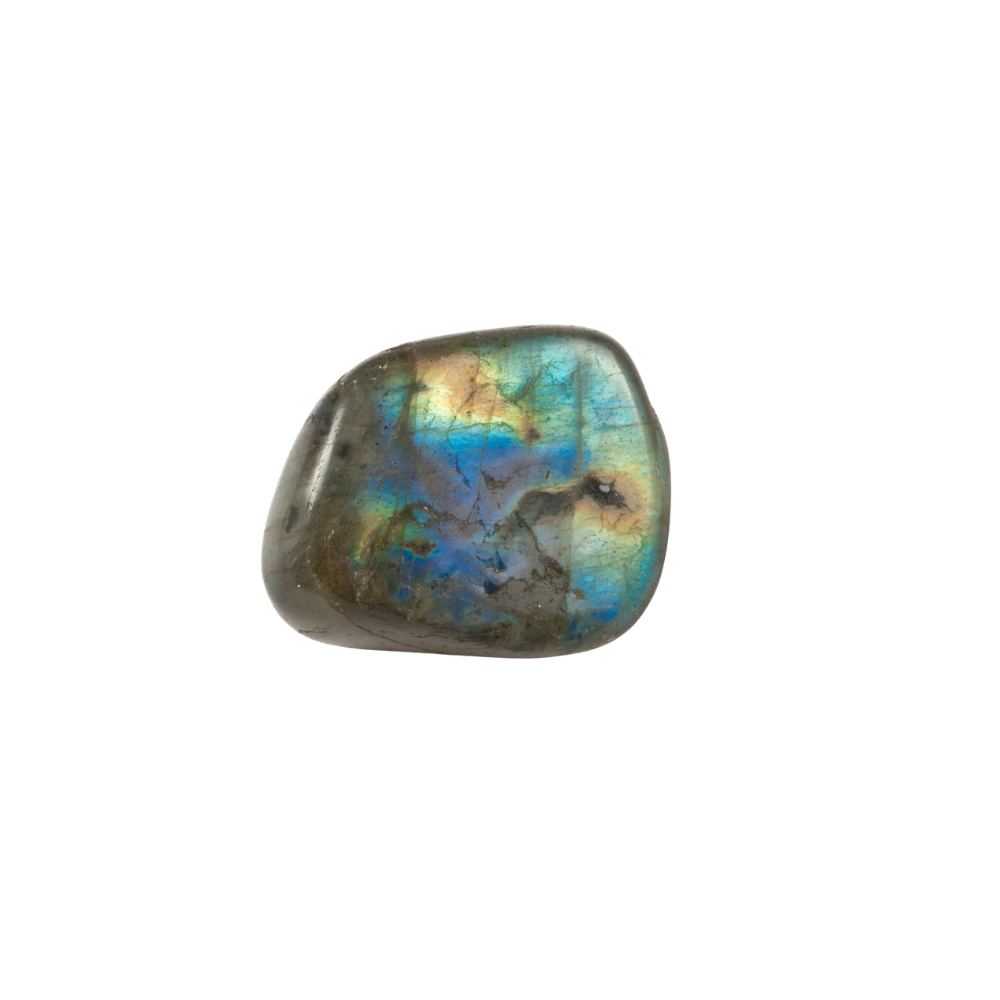
- Intuition Development + Labradorite: Psychic opening
Practice: Crystal-Charged Readings
Place relevant crystals on your reading cloth or hold them while shuffling. Place a crystal on the card spread that needs emphasis.
4. Crystals + Journaling: Conscious Manifestation
How They Enhance Each Other
Writing engages the logical mind while crystals work with the subconscious. Together, they align both aspects toward your goals.
Powerful Pairings
- Journal + Lapis Lazuli: Truth telling and authentic expression
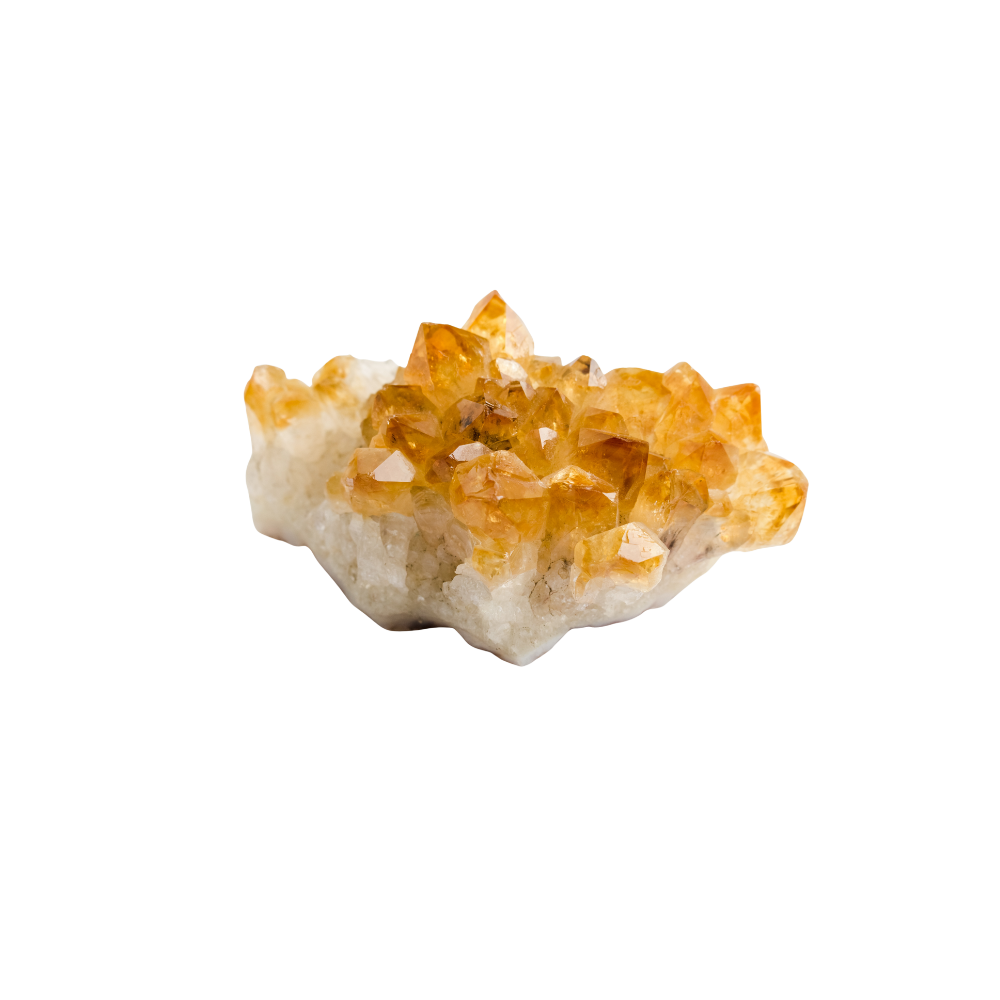
- Gratitude Journal + Citrine: Abundance attraction
- Dream Journal + Moonstone: Intuition and subconscious access
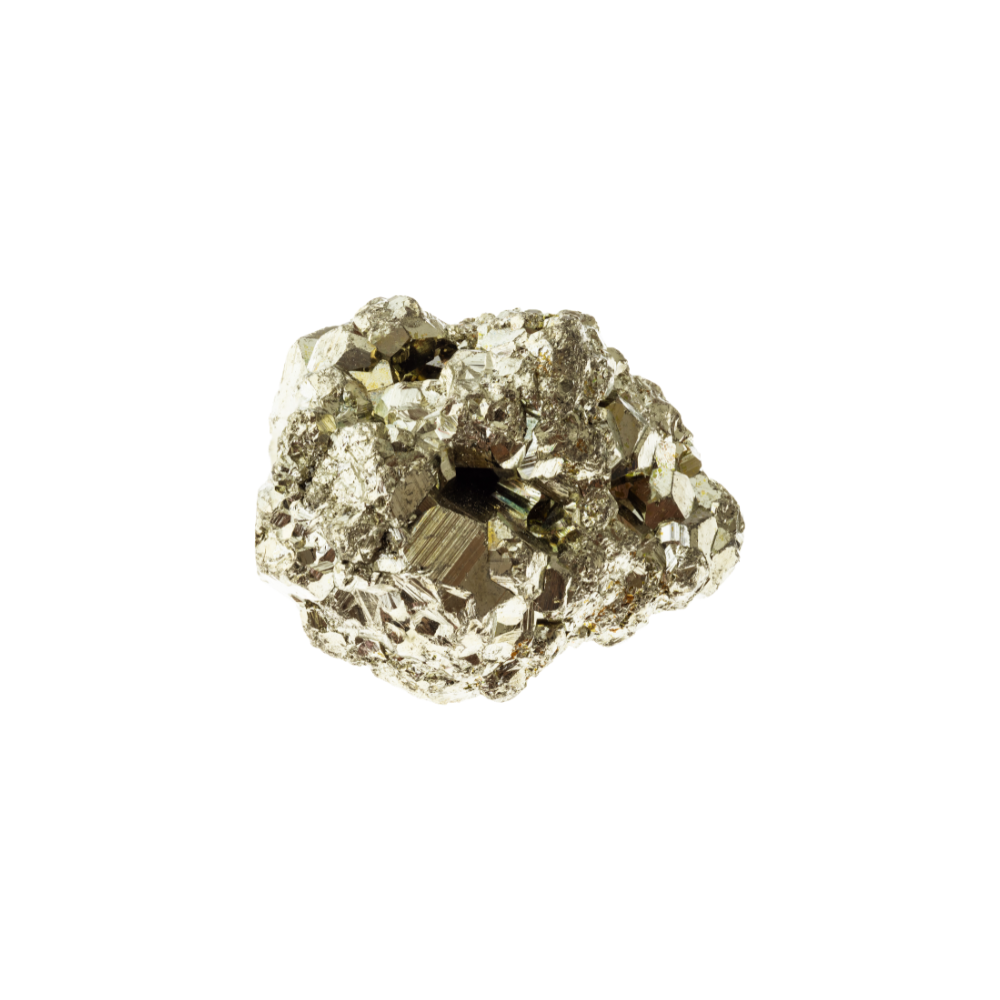
- Manifestation Journal + Pyrite: Goal achievement
Practice: Crystal-Charged Writing
Hold a compatible crystal while writing. Pause periodically to place the crystal on your writing to infuse it with energy.
5. Crystals + Energy Healing: Amplified Healing
How They Enhance Each Other
Crystals amplify and focus healing energy while energy healing techniques help distribute crystal energy throughout the body.
Powerful Pairings
- Reiki + Clear Quartz: Energy amplification
- Chakra Healing + Corresponding Stones: Targeted balancing
- Distance Healing + Selenite: Connection across space
- Self-Healing + Rose Quartz: Self-love and compassion
Practice: Crystal Layout for Healing
Place appropriate crystals on corresponding chakras or body areas during energy healing sessions.
6. Crystals + Aromatherapy: Multi-Sensory Healing
How They Enhance Each Other
Essential oils work through the olfactory system while crystals work through energy fields. Together, they create a powerful multi-sensory experience.
Powerful Pairings
- Lavender + Amethyst: Relaxation and sleep
- Peppermint + Clear Quartz: Mental clarity
- Rose + Rose Quartz: Heart healing
- Frankincense + Selenite: Spiritual connection
Practice: Charged Diffusion
Place a compatible crystal on your diffuser while it runs. The crystal will charge the mist with its energy.
7. Crystals + Sound Healing: Vibrational Alignment
How They Enhance Each Other
Sound vibrations help "loosen" stagnant energy, making it easier for crystals to work. The sound waves also help distribute crystal energy throughout a space.
Powerful Pairings
- Singing Bowl + Clear Quartz: Space clearing and energy amplification
- Tuning Forks + Selenite: Chakra balancing and alignment
- Bells + Black Tourmaline: Protection and boundary setting
- Drum + Shamanic Stones: Journey work and transformation
Practice: Crystal Sound Bath
Place crystals on and around your body while experiencing sound healing. The sound will activate the crystals while the crystals ground the sound vibrations.
Creating Your Combined Practice: Step-by-Step
1. Choose Your Primary Goal
Start with one clear intention: relaxation, manifestation, healing, etc. Let this guide your tool selection.
2. Select Complementary Tools
Choose 2-3 tools that support your goal. Don't overwhelm yourself—start simple.
3. Cleanse and Prepare
Cleanse all tools—crystals, cards, instruments—so they work from a clear baseline.
4. Set Clear Intentions
State your intention aloud for each tool: "I program this crystal for..." "I charge this oil with..."
5. Create Sacred Space
Arrange your tools intentionally. Consider directions, elemental correspondences, or intuitive placement.
6. Engage Multiple Senses
Incorporate sight, sound, scent, and touch to create a fully immersive experience.
Sample Combined Rituals
Morning Activation Ritual
Tools: Citrine (energy), peppermint oil (alertness), singing bowl (clarity)
Practice: Diffuse oil while holding citrine. Ring bowl three times to set daily intention.
Evening Release Ritual
Tools: Amethyst (calm), lavender oil (relaxation), journal (processing)
Practice: Write down what needs releasing. Anoint paper with oil. Place amethyst on top overnight.
Manifestation Ritual
Tools: Clear quartz (amplification), cinnamon oil (abundance), vision board (clarity)
Practice: Anoint vision board corners with oil. Place quartz at center. State intentions aloud.
Safety and Energetic Considerations
Energetic Overload
When new to combinations, start with short sessions. Notice how you feel afterward. Ground with black tourmaline if spacey.
Tool Compatibility
Some tools might not work well together for you personally. Trust your intuition about what feels harmonious.
Physical Safety
Keep crystals away from direct flame, water-sensitive stones dry, and small objects away from pets/children.
Ready to create powerful combinations? Explore our ritual kits with perfectly paired tools or our practice journals to document your combined spiritual practices.
Next Step: Deepen your practice with our guide to Creating Powerful Moon Rituals with Crystals.
Disclaimer: These practices are spiritual in nature and results may vary. Always research safety considerations for specific tools, especially regarding essential oil use and crystal properties. These practices complement but do not replace professional medical or mental health care.