🌙 How to Cleanse Crystals with Selenite

🌙 How to Cleanse Crystals with Selenite

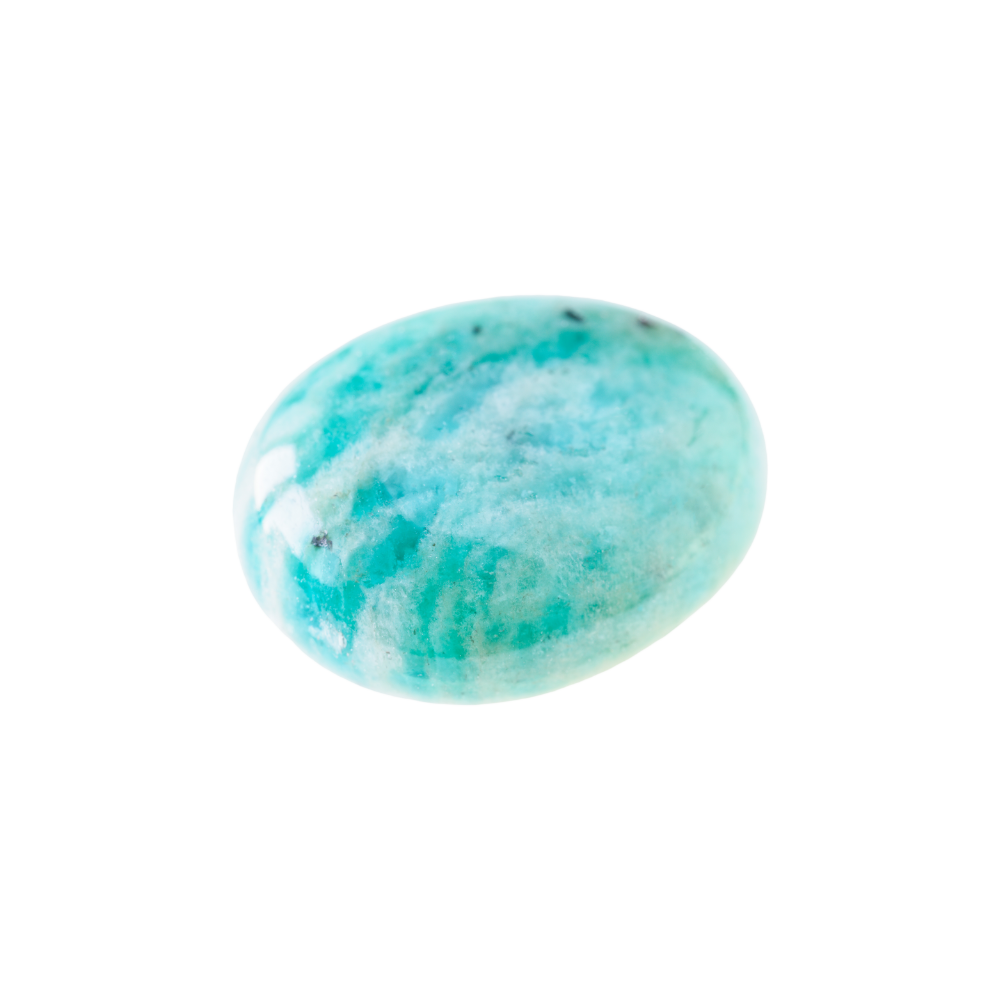
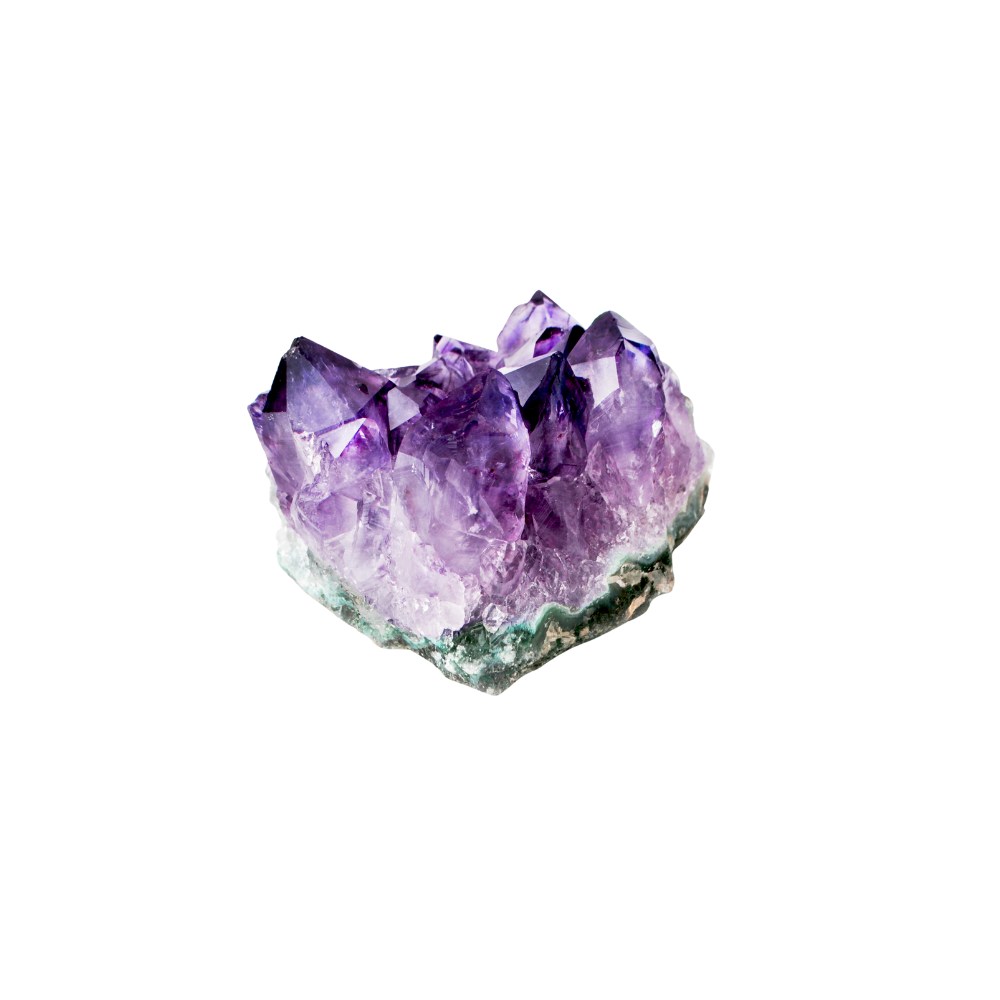
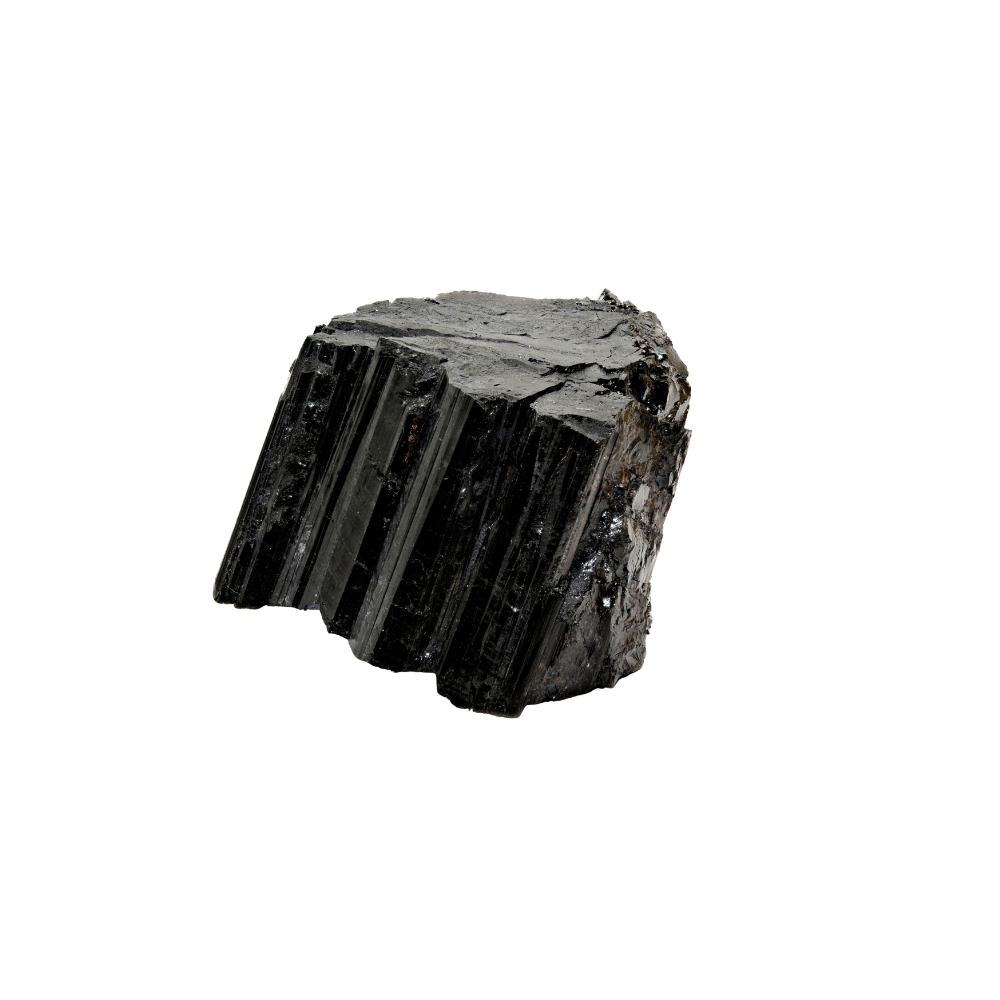
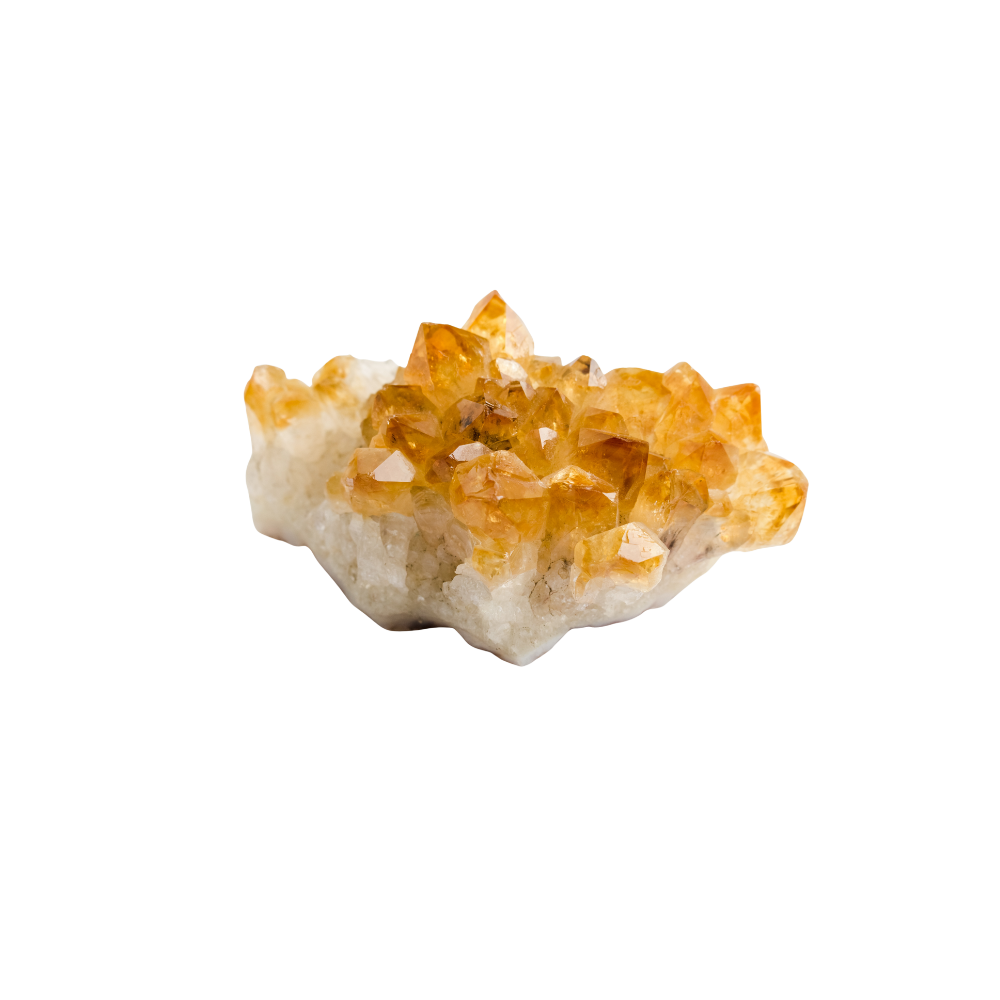
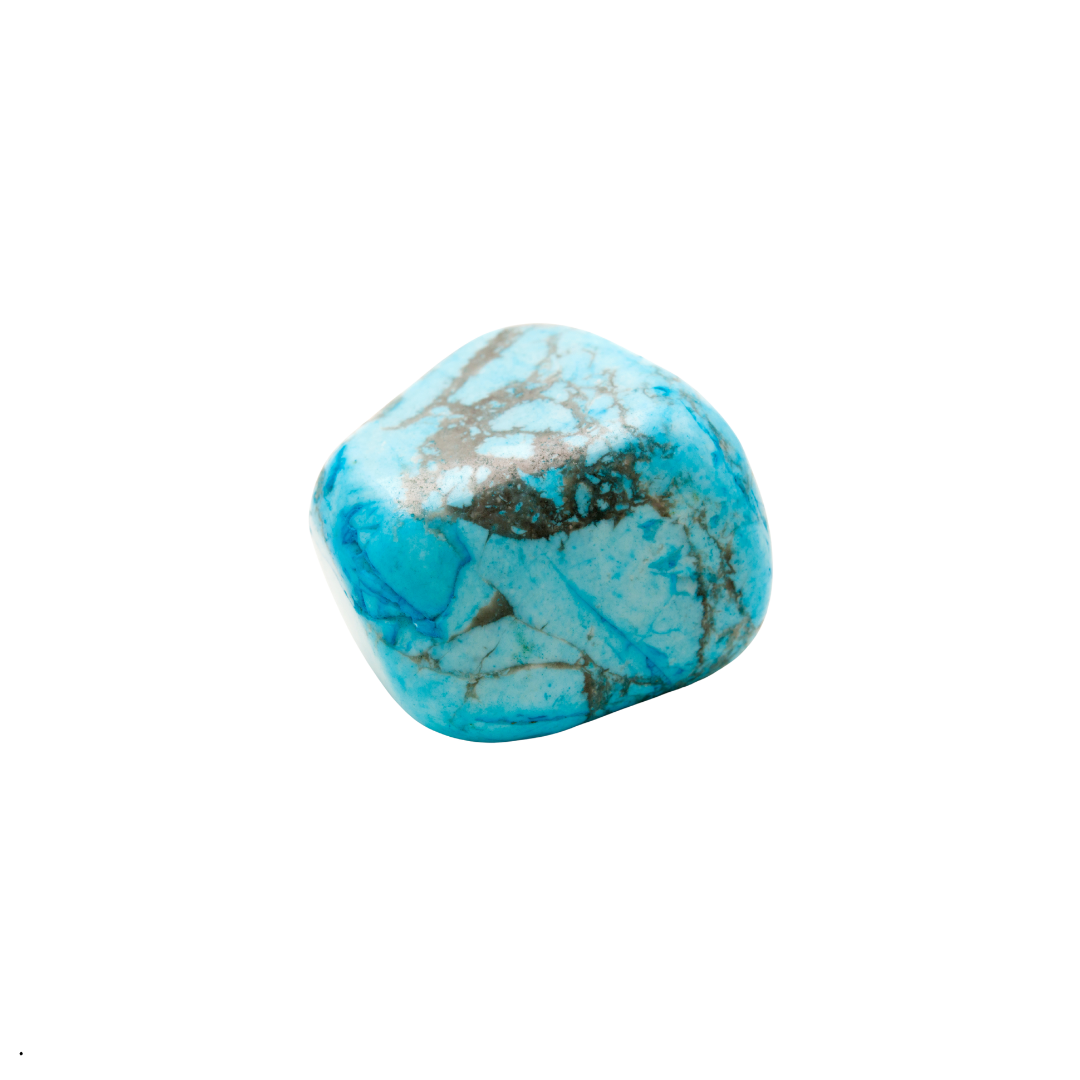
Crystals are powerful allies for healing, manifestation, and energy work — but just like us, they can absorb energy from their surroundings. Over time, this buildup may cause your crystals to feel heavy, less vibrant, or even “blocked.” To restore their natural vibration, cleansing is essential.

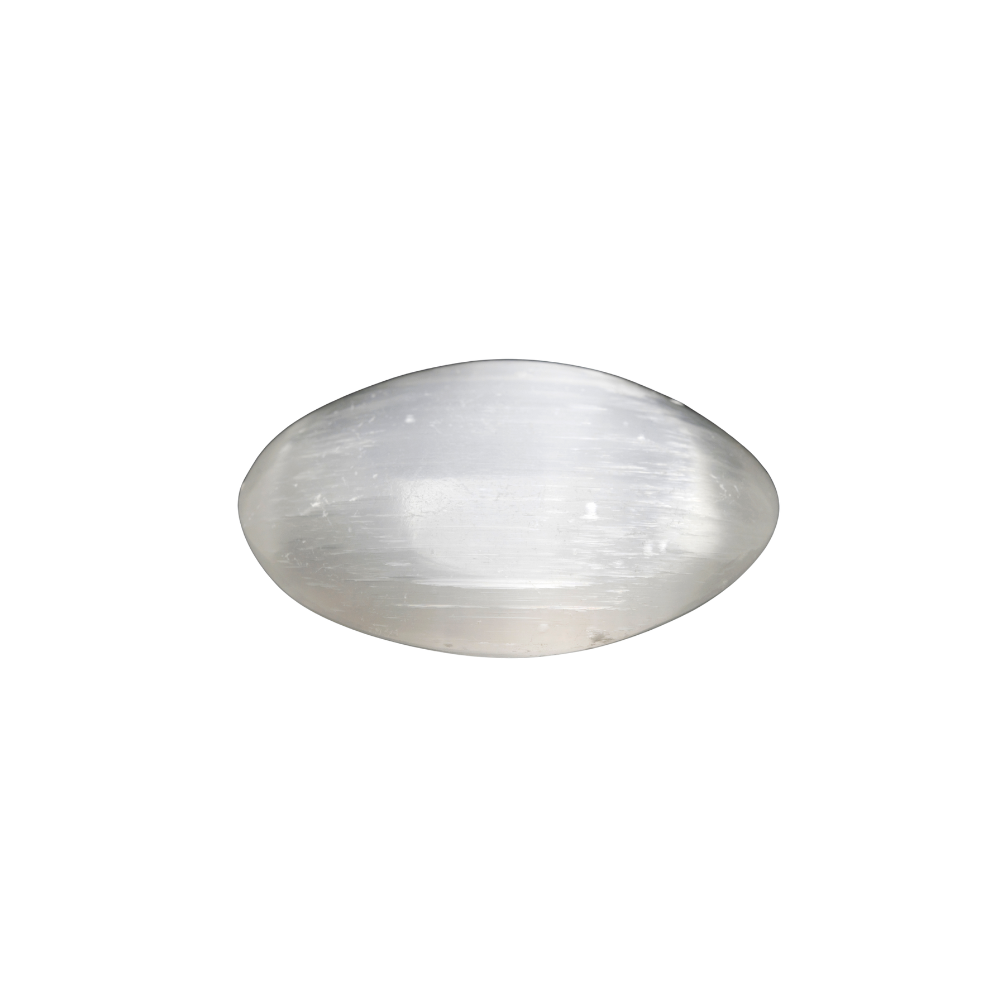
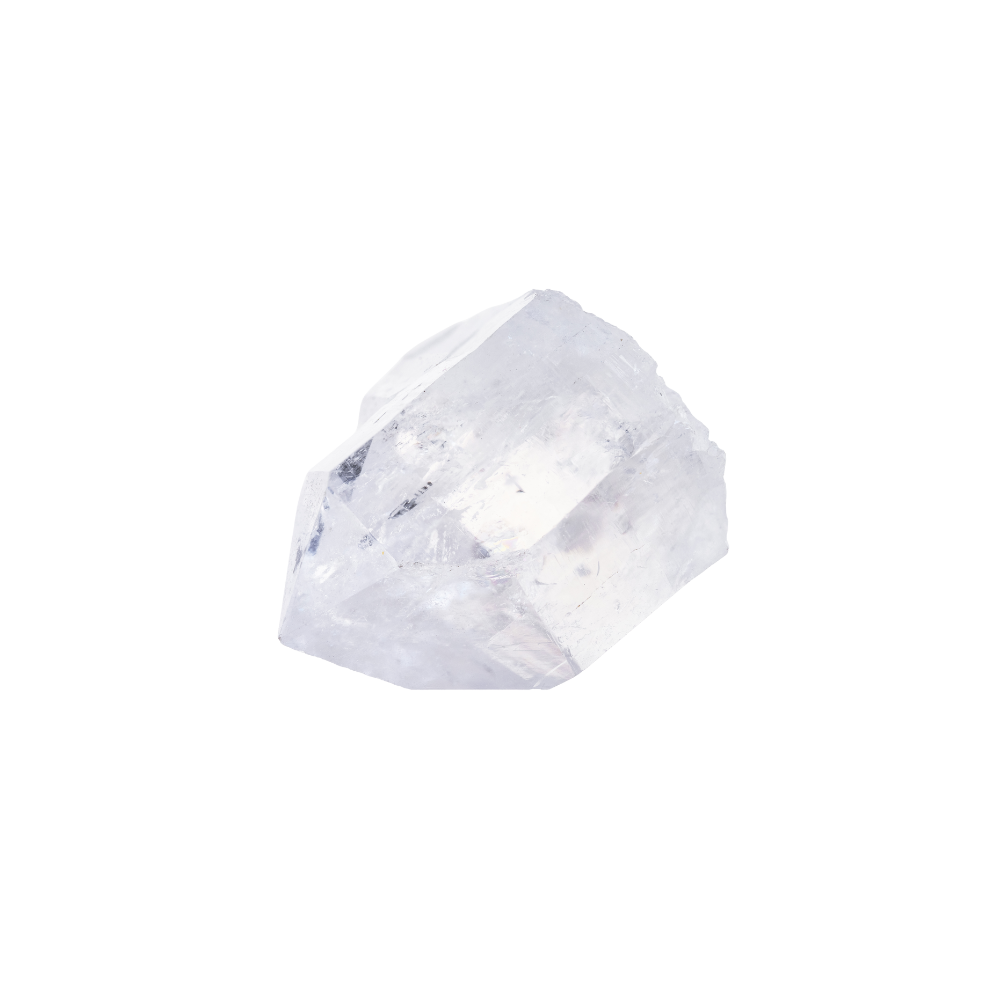
One of the most effective ways to do this is with Selenite, a crystal known as the “liquid light of the mineral kingdom.” Unlike most stones, selenite doesn’t need cleansing itself — instead, it radiates pure, high-frequency energy that clears and recharges other crystals with ease.


✨ Why Use Selenite for Cleansing?

  • Self-Cleansing → Selenite never needs to be energetically cleared.

  • High Vibration → Its luminous frequency dispels stagnant or negative energy.

  • Gentle but Powerful → Safe for delicate crystals that shouldn’t be exposed to water or salt.

  • Convenient → Works quickly, requiring no complicated rituals.


🌙 How to Cleanse Crystals with Selenite

1. Using a Selenite Wand

Place your crystal next to or on top of a Selenite Wand. Leave it there for at least 15–30 minutes, or overnight for a deeper cleanse. The wand’s shape also makes it perfect for “sweeping” through your aura and releasing blockages.

👉 Shop our Natural Selenite Wand — an easy-to-use tool for crystal cleansing and energy protection.


2. Using a Selenite Tower

Position your crystals around the base of a Selenite Tower. Its vertical structure channels light energy upward, cleansing everything in its field. This method is ideal for cleansing multiple stones at once.

👉 Try our Selenite Tower — perfect for altars, nightstands, or meditation spaces.


3. Selenite Charging Plate or Bowl

Lay your crystals directly on a Selenite Plate or inside a Selenite Bowl. This method is highly effective, as the crystals remain in continuous contact with the cleansing energy.

(If you plan to stock these soon, this is a great spot for internal links.)


🌌 Tips for Crystal Cleansing with Selenite

  • Cleanse your crystals regularly — especially after intense use, healing sessions, or during full moons.

  • Pair selenite with intention-setting — hold your crystal, close your eyes, and visualize it being filled with light.

  • Keep a selenite piece in every room to continuously clear and uplift the energy.


💎 Final Thoughts

Selenite is a must-have for every crystal lover. Whether you use a wand, tower, or charging plate, this luminous stone effortlessly clears negativity and restores your crystals to their highest vibration.

👉 Browse our Selenite Collection and discover the perfect cleansing tool to keep your crystals — and your space — radiant and balanced. 

Shop by stone

Amazonite: Harmony & Communication

Amazonite: Harmony & Communication

Amethyst: Tranquility & Spiritual Growth

Amethyst: Tranquility & Spiritual Growth

Aquamarine: Courage & Calm

Aquamarine: Courage & Calm

Aventurine: Opportunity

Aventurine: Opportunity

Black Tourmaline: Protection

Black Tourmaline: Protection

Carnelian: Creativity & Vitality

Carnelian: Creativity & Vitality

Citrine: Abundance & Joy

Citrine: Abundance & Joy

Emerald
Emerald

Emerald

Fluorite: Mental Clarity

Fluorite: Mental Clarity

Garnet: Passion & Strength

Garnet: Passion & Strength

Labradorite: Transformation & Magic

Labradorite: Transformation & Magic

Lepidolite
Lepidolite

Lepidolite

Malachite: Stone of Transformation

Malachite: Stone of Transformation

Moonstone: New Beginnings

Moonstone: New Beginnings

Obsidian: Shadow Work & Protection

Obsidian: Shadow Work & Protection

Opal
Opal

Opal

Pearl
Pearl

Pearl

Peridot
Peridot

Peridot

Pyrite: Stone of Wealth & Protection

Pyrite: Stone of Wealth & Protection

Rose Quartz: Unconditional Love

Rose Quartz: Unconditional Love

Ruby
Ruby

Ruby

Sapphire
Sapphire

Sapphire

Selenite: Stone of Divine Light

Selenite: Stone of Divine Light

Smoky Quartz: Grounding & Release

Smoky Quartz: Grounding & Release

Sunstone
Sunstone

Sunstone

Tiger's Eye: Courage & Confidence

Tiger's Eye: Courage & Confidence

Topaz
Topaz

Topaz

Turquoise: Stone of Wholeness & Healing

Turquoise: Stone of Wholeness & Healing

Angelite: Stone of Angelic Connection

Angelite: Stone of Angelic Connection

Blue Apatite
Blue Apatite

Blue Apatite

Blue Lace Agate
Blue Lace Agate

Blue Lace Agate

Blue Sapphire
Blue Sapphire

Blue Sapphire

Botswana Agate
Botswana Agate

Botswana Agate

Celestite
Celestite

Celestite

Chrysoprase: Joy & Heart Healing

Chrysoprase: Joy & Heart Healing

Clear Quartz: Master Healer

Clear Quartz: Master Healer

Diamonds
Diamonds

Diamonds

Green Onyx
Green Onyx

Green Onyx

Herkimer Quartz
Herkimer Quartz

Herkimer Quartz

Jade
Jade

Jade

Lapis Lazuli: Stone of Truth & Wisdom

Lapis Lazuli: Stone of Truth & Wisdom

Moldavite
Moldavite

Moldavite

Mother Of Pearl
Mother Of Pearl

Mother Of Pearl

Onyx
Onyx

Onyx

Rhodonite
Rhodonite

Rhodonite

Tanzanite
Tanzanite

Tanzanite